
There is a specific kind of freedom that comes from owning your own “metal.”
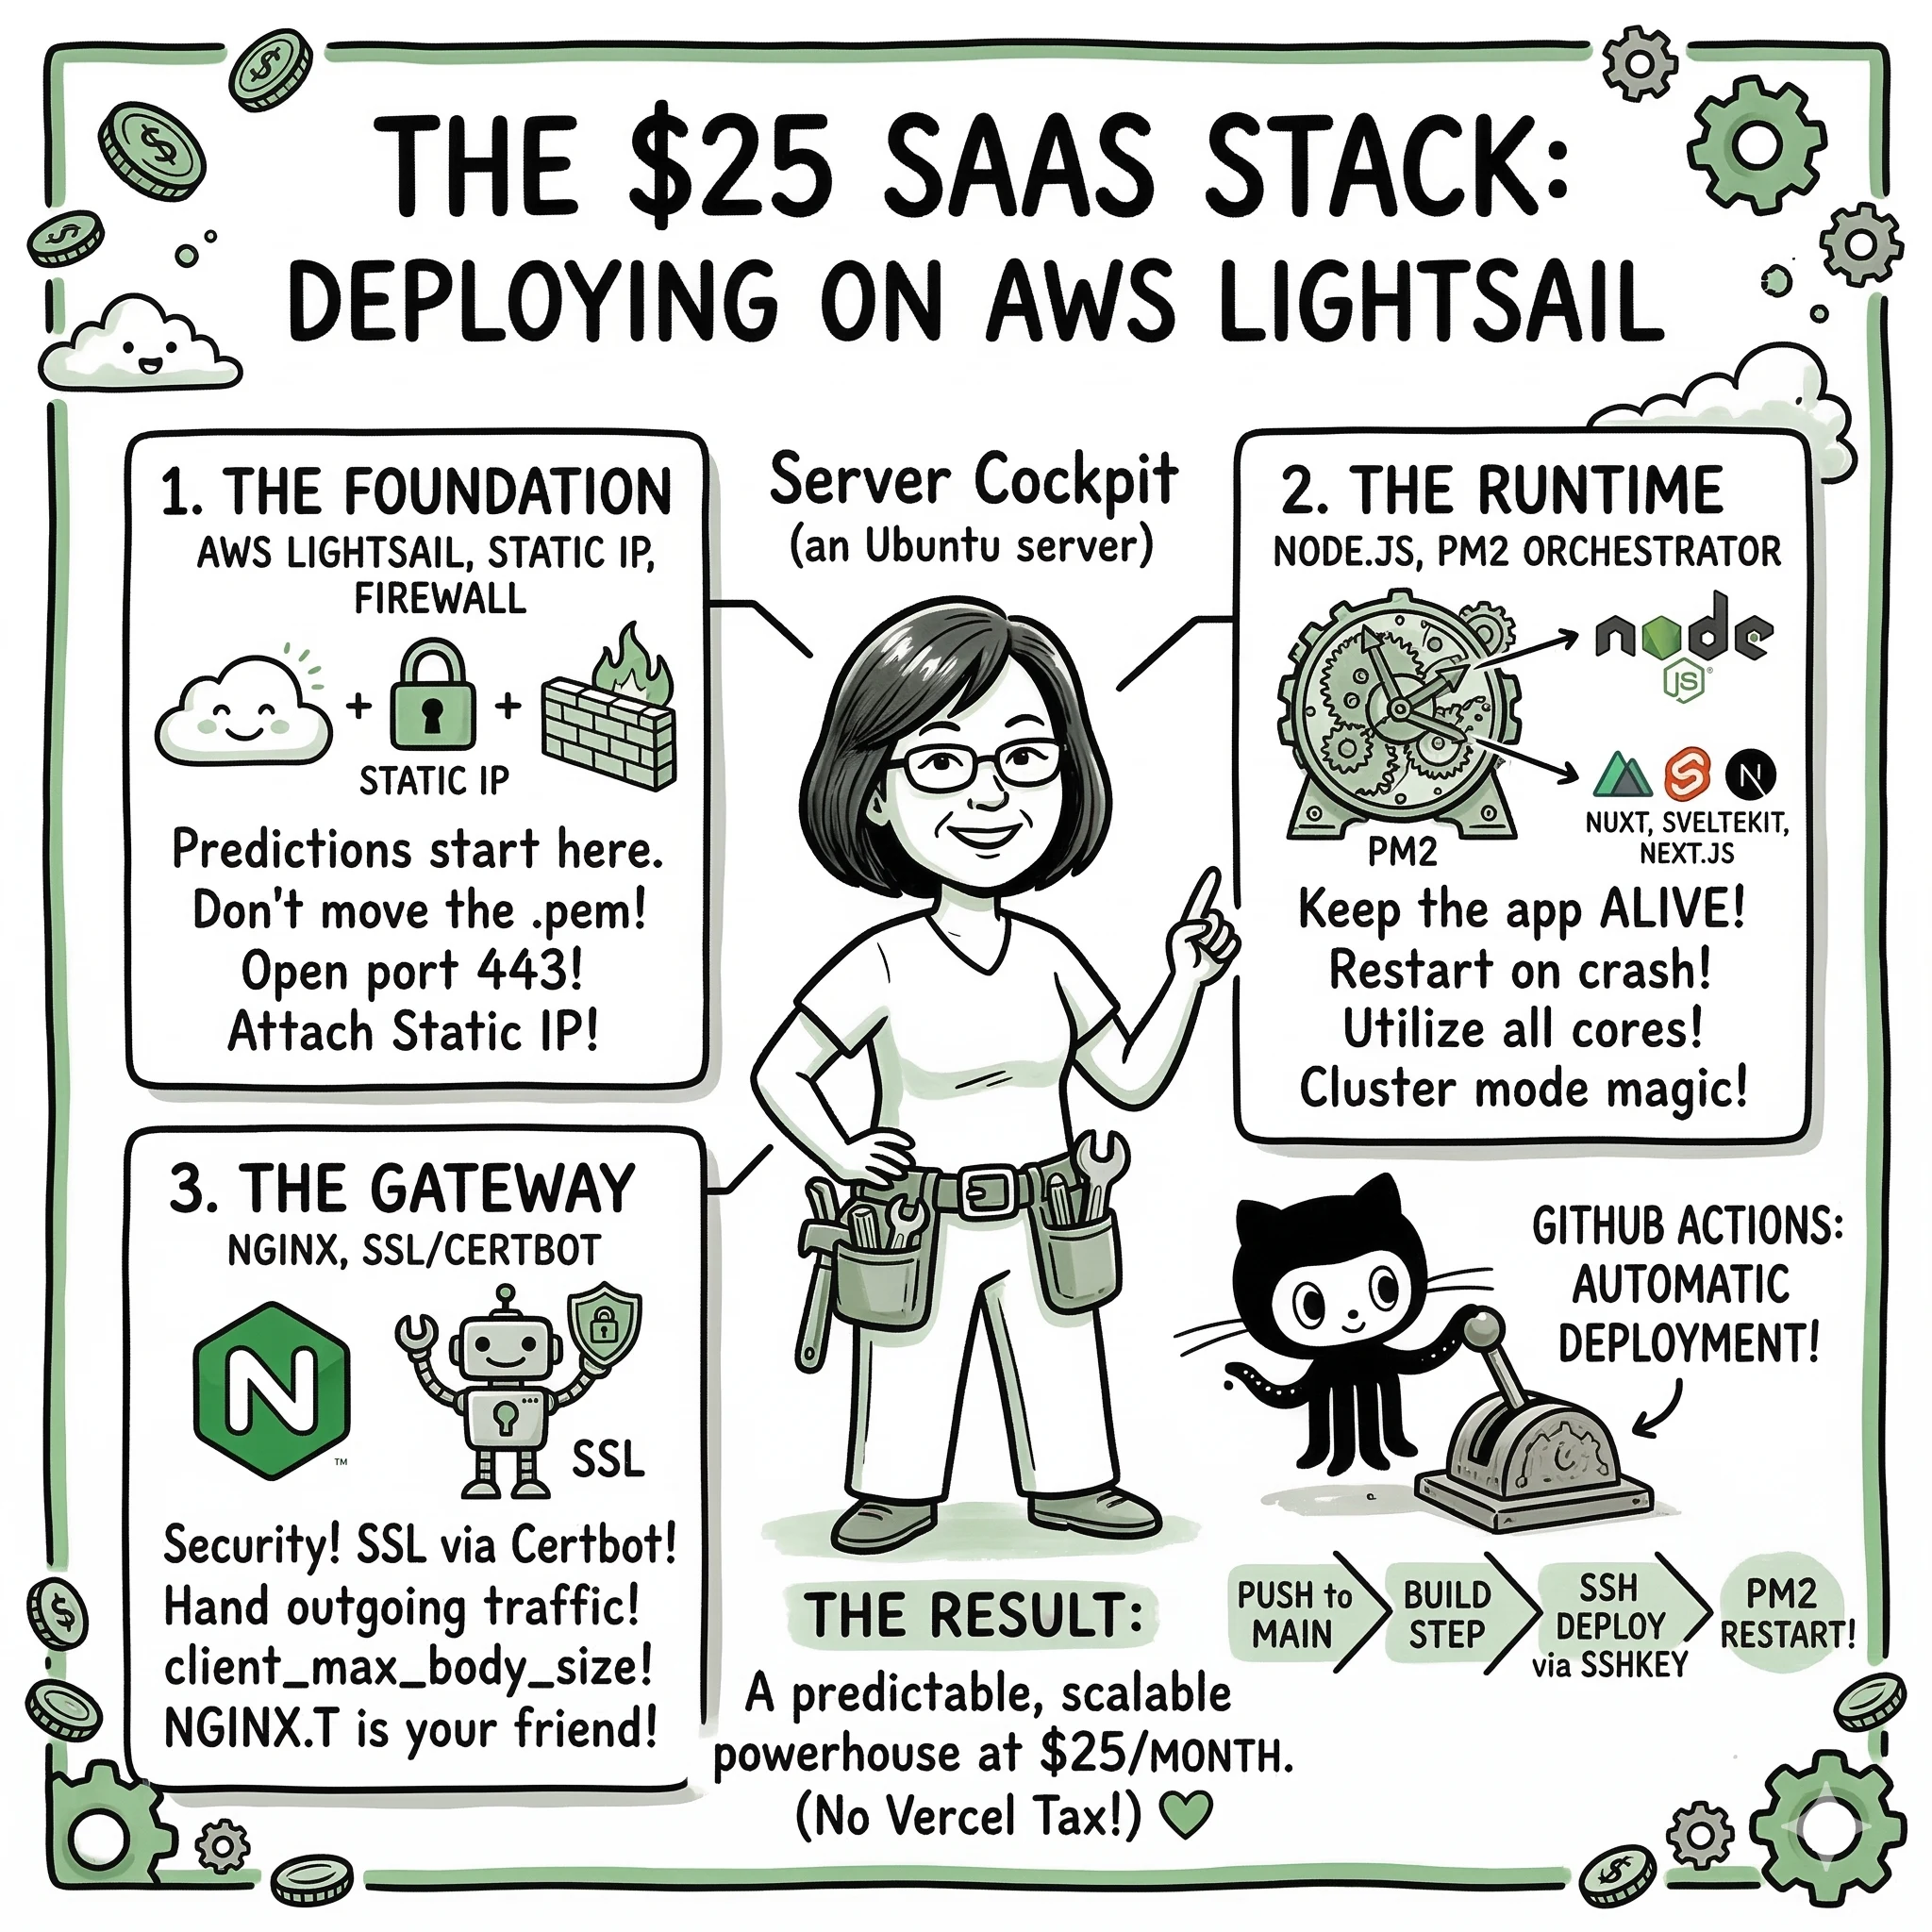
While platforms like Vercel and Netlify are magical for front-end developers, they often lead to a “black box” dependency that gets expensive once your SaaS starts doing real work. For a founder, spending $25/month on a predictable, high-performance AWS Lightsail instance is often the smarter “Steward” move.
The beauty of this setup is that it’s framework agnostic. Whether you are building with Nuxt, SvelteKit, or Next.js, the infrastructure logic stays exactly the same. You can even run all three on the same $25 server!
This is a comprehensive, updated guide on how I deploy modern full-stack applications and Node.js APIs on Ubuntu 20.04 LTS. We’re moving from a raw .PEM file to a fully automated CI/CD pipeline with GitHub Actions.
Phase 1: The Foundation (AWS Lightsail)
Before we touch the terminal, we need to set up the environment in the AWS Console.
1. Create the Instance
Create a new Lightsail instance using Ubuntu 20.04 LTS. During setup, create and download a new SSH key pair: lightsail-app-name.pem.
Critical: Do NOT rename this .pem file. AWS is picky; if the filename doesn’t match their internal record, your SSH handshake might fail.
2. Networking & Static IP
- Static IP: Attach a Static IP to your instance. Without this, your IP will change every time you reboot, breaking your DNS.
- Firewall (Networking): Open the following ports:
HTTPS 443(for SSL)3001(or whatever port your Node app uses)5432(if you’re running PostgreSQL locally)
3. Local Security Handshake
Move your .pem file to your local SSH directory and lock down the permissions:
cp lightsail_app_name.pem ~/.ssh/
chmod 400 ~/.ssh/lightsail_app_name.pem
Create a quick alias in your .zshrc so you never have to remember the IP again:
alias stag-app="ssh -i ~/.ssh/lightsail_app_name.pem ubuntu@YOUR_STATIC_IP"
Phase 2: Server Hardening & Runtime
Once you’re inside the server (stag-app), it’s time to install the engine.
1. Update Everything
sudo apt-get update && sudo apt-get upgrade -y
2. Install Node.js
I prefer using the NodeSource repository to get specific versions. For most modern Nuxt apps, Node 18+ is the way to go.
curl -fsSL https://deb.nodesource.com/setup_18.x | sudo -E bash -
sudo apt-get install -y nodejs build-essential
3. The “Besh” Alias Set
I can’t work without my shortcuts. I always add these to ~/.bash_aliases to turn a raw terminal into a cockpit:
# General Shortcuts
alias l='ls -lah'
alias hg='history|grep'
alias nreset='sudo systemctl restart nginx'
alias ncheck='sudo nginx -t'

# App Shortcuts
alias appcd='cd ~/my-app'
alias appbuild='cd ~/my-app && git pull && npm install && npm run build && pm2 restart ecosystem.config.js'
Phase 3: The Orchestrator (PM2)
We don’t run Node apps with node index.js. We use PM2 to ensure the app stays alive, restarts on crash, and utilizes all CPU cores.
sudo npm install pm2 -g
Create an ecosystem.config.js in your app root. This is your deployment manifest. Here is where the “magic” changes depending on your framework.
For Nuxt 3
module.exports = {
  apps: [
    {
      name: 'nuxt-saas',
      exec_mode: 'cluster',
      instances: 'max',
      script: './.output/server/index.mjs',
      env: {
        NODE_ENV: 'production',
        PORT: 3001
      }
    }
  ]
}
For SvelteKit (Node Adapter)
Requires @sveltejs/adapter-node installed and configured.
module.exports = {
  apps: [
    {
      name: 'svelte-saas',
      exec_mode: 'cluster',
      instances: 'max',
      script: './build/index.js',
      env: {
        NODE_ENV: 'production',
        PORT: 3001
      }
    }
  ]
}
For Next.js
module.exports = {
  apps: [
    {
      name: 'next-saas',
      exec_mode: 'cluster',
      instances: 'max',
      script: './node_modules/next/bin/next',
      args: 'start -p 3001',
      env: {
        NODE_ENV: 'production'
      }
    }
  ]
}
Phase 4: The Gateway (NGINX & SSL)
NGINX sits in front of your app, handling incoming traffic and passing it to Node.
1. Configuration
Create a site config in /etc/nginx/sites-available/app.carmelyne.com:
server {
    listen 80;
    server_name app.carmelyne.com;

    location / {
        proxy_pass http://0.0.0.0:3001;
        proxy_http_version 1.1;
        proxy_set_header Upgrade $http_upgrade;
        proxy_set_header Connection 'upgrade';
        proxy_set_header Host $host;
        proxy_cache_bypass $http_upgrade;
    }

    client_max_body_size 50M; # Essential for SaaS file uploads
}
2. Enable & Link
sudo ln -sf /etc/nginx/sites-available/app.carmelyne.com /etc/nginx/sites-enabled/
sudo nginx -t && sudo systemctl restart nginx
3. SSL via Certbot
Don’t handle SSL manually. Let the robots do it.
sudo apt install python3-certbot-nginx
sudo certbot --nginx -d app.carmelyne.com
Phase 5: Automation (GitHub Actions)
This is the “magic” step. We want every push to main to automatically update the server.
- Generate a Deploy Key on the server.
- Add the Public Key to GitHub (Deploy Keys).
- Add the Private Key to GitHub Secrets as
SSHKEY.
Create .github/workflows/deploy.yml:
name: Deploy
on:
  push:
    branches: [main]

jobs:
  build:
    runs-on: ubuntu-latest
    steps:
      - uses: actions/checkout@v3

      - name: Deploy via SSH
        uses: appleboy/ssh-action@master
        with:
          host: $
          username: ubuntu
          key: $
          port: 22
          script: |
            cd ~/my-app
            git pull origin main
            npm install
            npm run build
            pm2 restart ecosystem.config.js
The Result: A Scalable $25 Powerhouse
By following this flow, you’ve built more than just a website. You’ve built an Infrastructure.
- Nuxt / SvelteKit / Next.js handles the reactive UI and server-side rendering.
- PM2 handles the process stability and cluster scaling.
- NGINX handles the security, SSL, and routing.
- GitHub Actions handles the continuous delivery.
At $25/month, you have enough RAM and CPU to run a production SaaS with thousands of users without the “Vercel tax.” This is how you build for the long term. 💚
Explore the Framework
These concepts are part of a broader framework for building intent-aware AI systems. I've distilled these strategies into a short, practical guide called Thinking Modes.
View the Book →